
Playhouse Reveal {Part 2}
June 25, 2016
Welcome to the playhouse! Come on in!
I’m so excited to show you the inside of the playhouse today! The last time you saw the playhouse we shared the exterior, and today you get to see the changes we made inside. To take you back, when we bought this off craigslist the interior looked like it would give kids heat exhaustion (no venting), tetanus (rusty nails exposed all over the place) and a wasp attack (there was a hive inside that traveled home with us).
Cue the creepy music and kids screaming as they run out of the scary ouchy deadly playhouse in a panic.
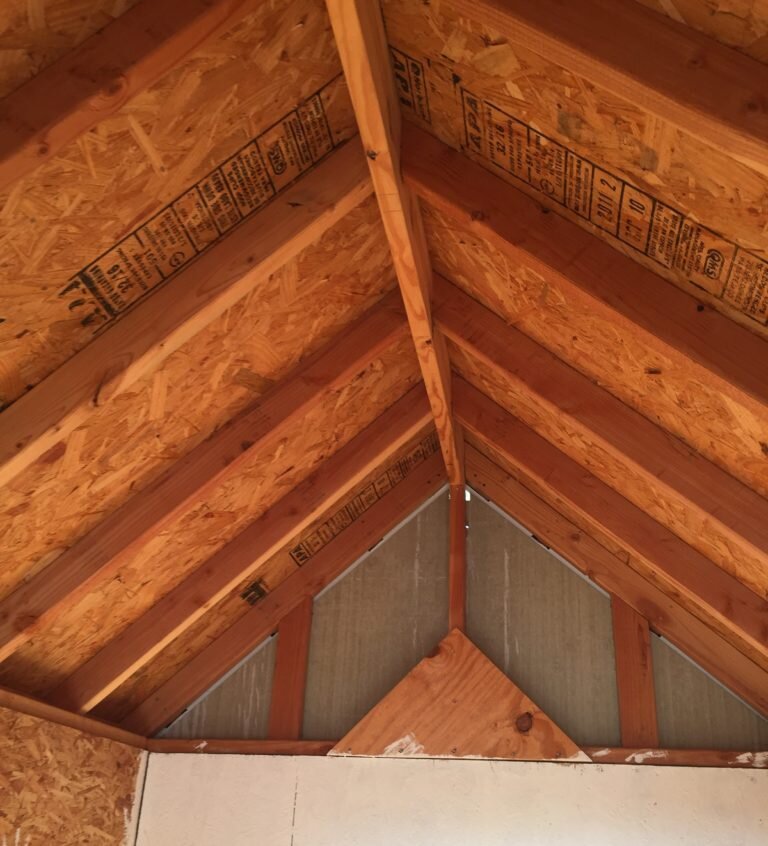
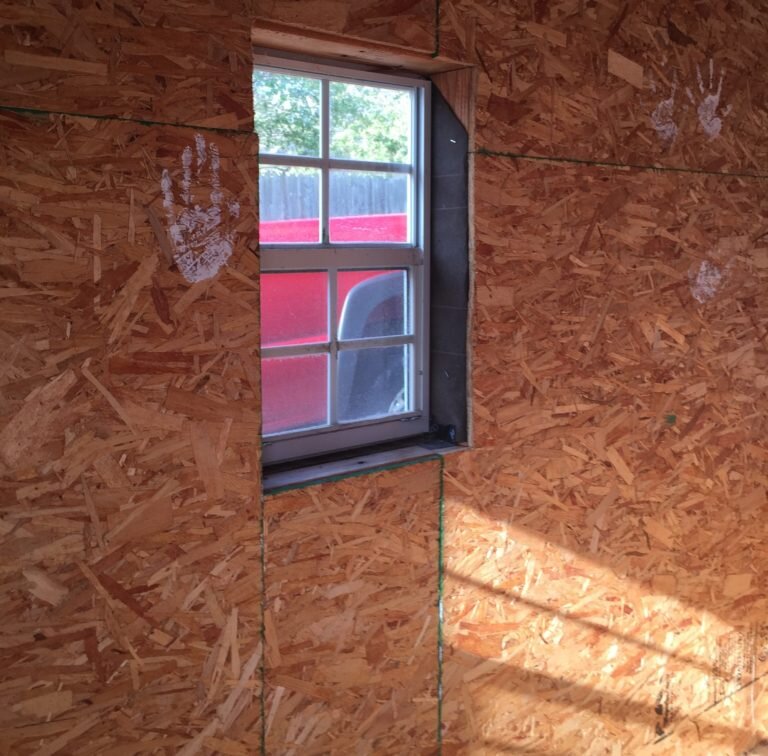
So the interior needed work. Yeah, understatement, I know. Bruce started by ripping off the splintery OSB that was covering the walls. This needed to come down to give us access to cut out and frame for new windows (and it wasn’t very kid friendly anyway). The girls giddily referred to this short non-messy process as “DEMO DAY!!!!” (yes, we let our kids watch that show).
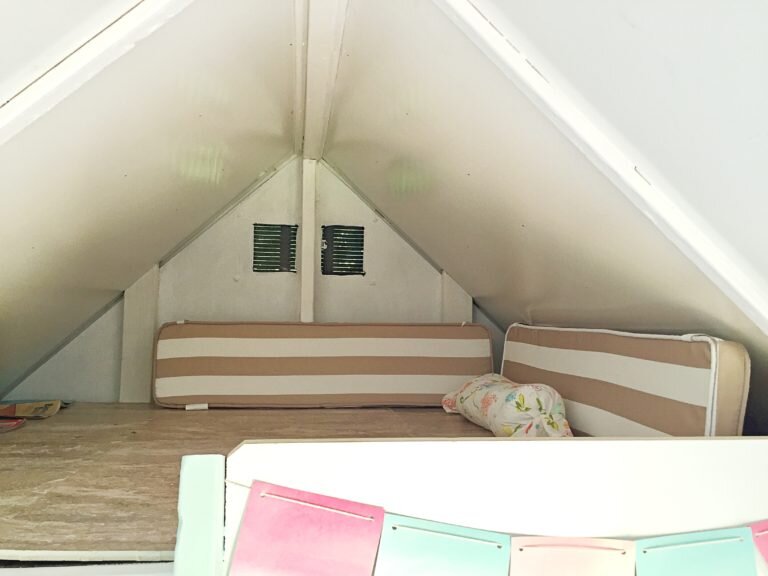
The next project was to add a loft. I painted it white and we added some smooth paneling to cover the multitude of nails that were perfectly poised to stab children in the head. I added some waterproof foam matting to protect little knees. The striped cushions were originally for the outdoor benches – but will last a lot longer up here than they would have outside. Bruce added some venting at both the front and back of the playhouse (holes on the inside, vent attached on the outside) to help hot air find a way out.
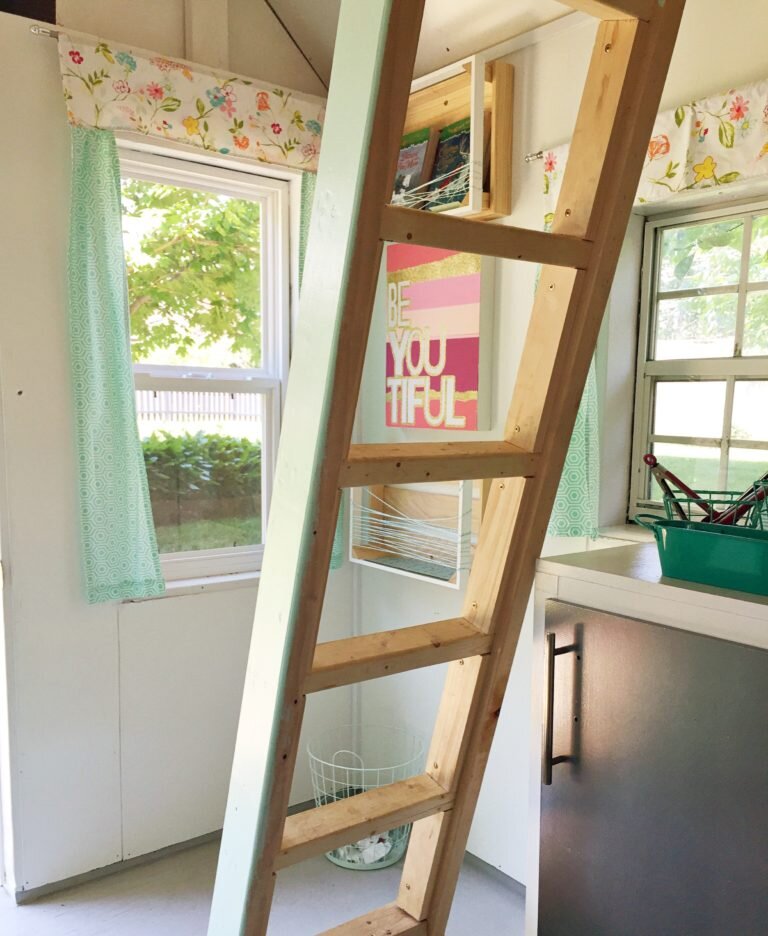
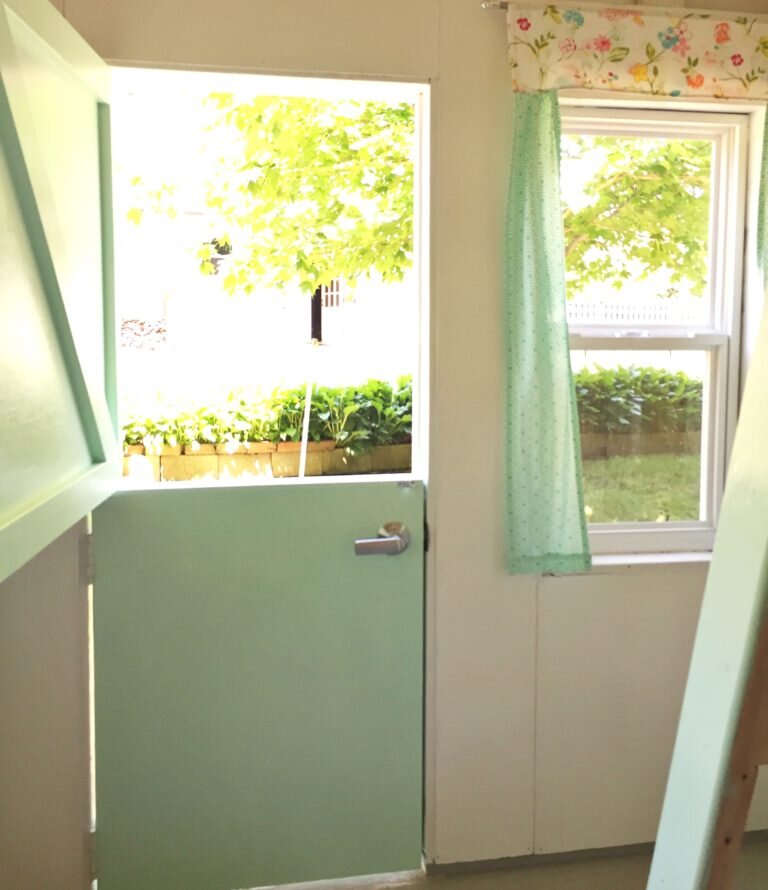
Of course a loft needs a ladder. After getting it built Bruce had the girls test it to find the perfect angle for climbing before attaching it at the top and bottom. I painted part of it the same Benjamin Moore Santa Barbara Green that we used on the dutch door. The center of the ladder was left raw to tie into the cute little crates on the wall that serve as bookshelves and the unpainted underside of the loft.
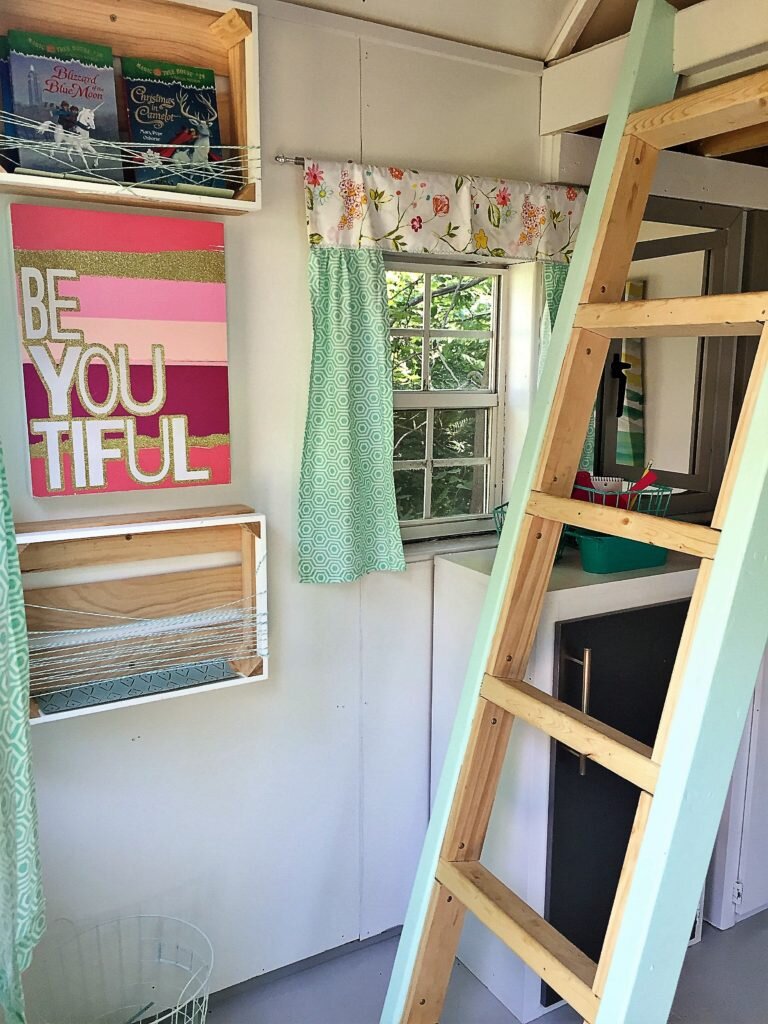
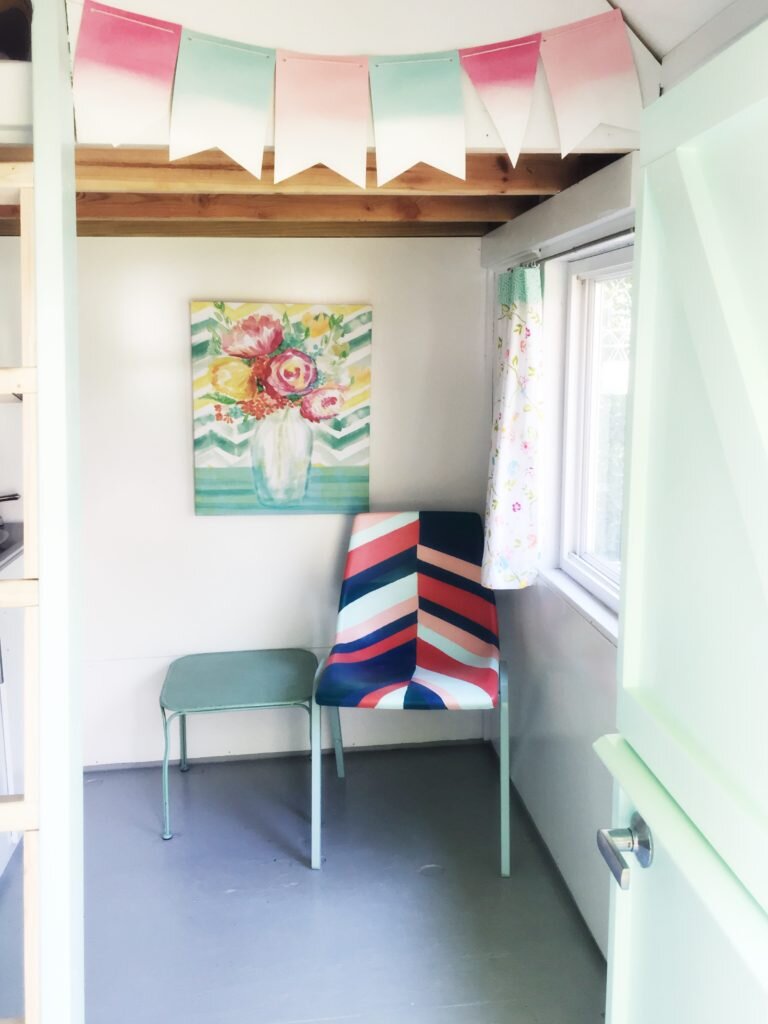
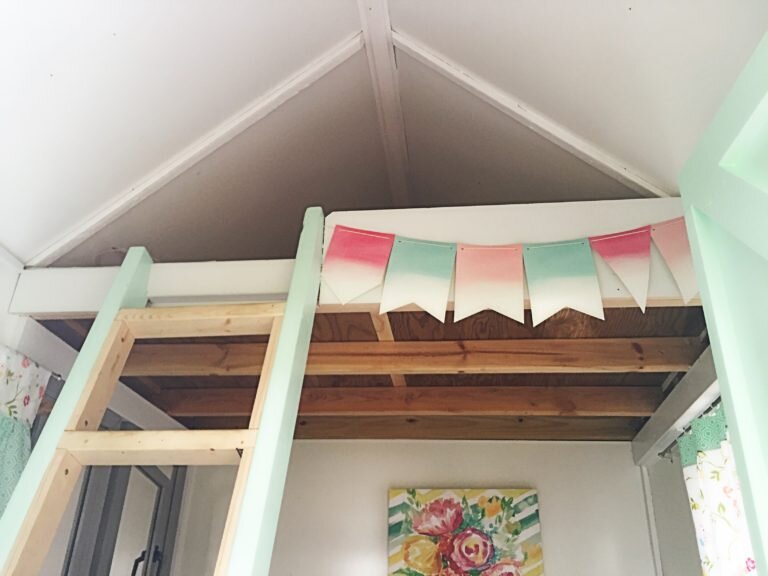
The girls are old enough to be safe up there without a rail, and we didn’t want the loft to look like a jail cell – but I did want some measure of security (especially when two or more kids are up there – it gets a bit crowded). So we added a board to the right of the ladder to act as a ‘stop’ so kiddos don’t slide right off the edge of the loft. The little paper watercolor banner from Target sits in front of the board to add a cheerful pop of color.
Underneath we painted the plywood floor with 4 coats of porch paint. We considered putting in a sheet laminate – but don’t you think if any water got under it there could be a potential mold problem? And with all the windows the chance of someone leaving one open in the rain someday…let’s just say I won’t bet on the floor never getting wet.

And the walls are clad all over with the same white glossy wall paneling that we used on the ceiling. Practical, cheap, light and bright.
Once walls, loft, and floor were done we got to the fun stuff.
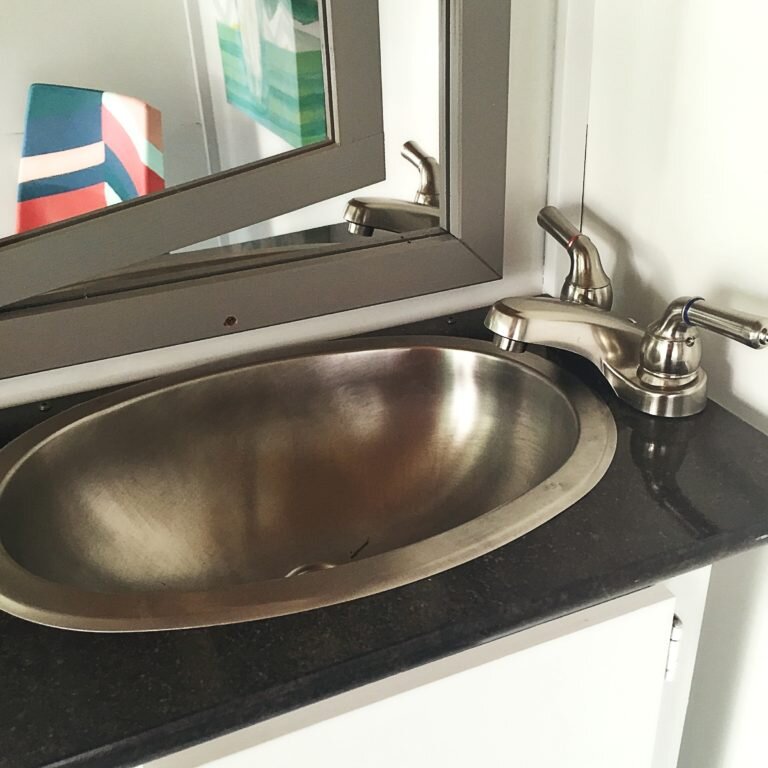
A playhouse HAS to have a kitchen, of course. We tucked ours under the stairs. A couple of cabinets from the Habitat Restore (12″ deep upper cabinets) were quickly painted and kitchenified with a countertop, sink, faucet, stovetop burners, and a ‘stainless’ fridge. The sink, faucet, and countertop actually came from the Restore too – such perfect sizes for this project! We added mirrors above the kitchen to reflect the light from the large window that faces the deck.
We had a big empty corner under the loft so we got a chair from – you guessed it – the Restore – for a whopping $1. Then the girls painted it with some leftover paint from previous projects, and I spray painted the rusted legs with the same color used on the exterior light. It works for now!
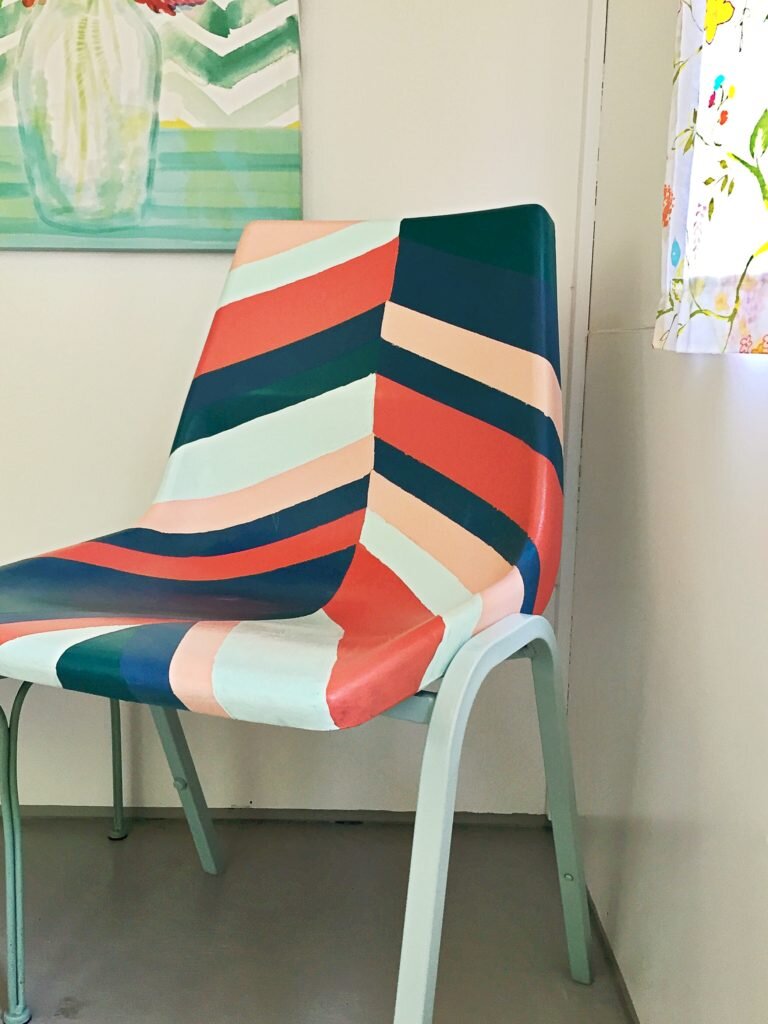
But – Bruce and I are planning on swapping it out for a hanging chair soon. Something like one of these from Wayfair perhaps (ok, not the far left one, let’s be real here…it’s $700! But I liiiike it!).

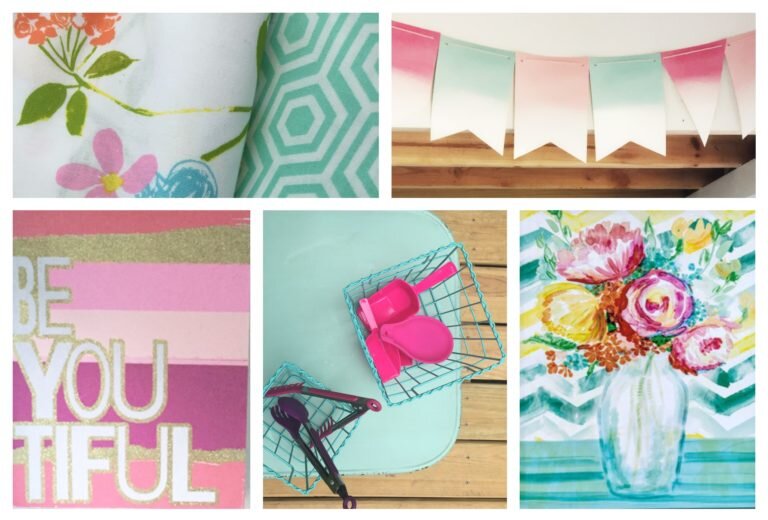
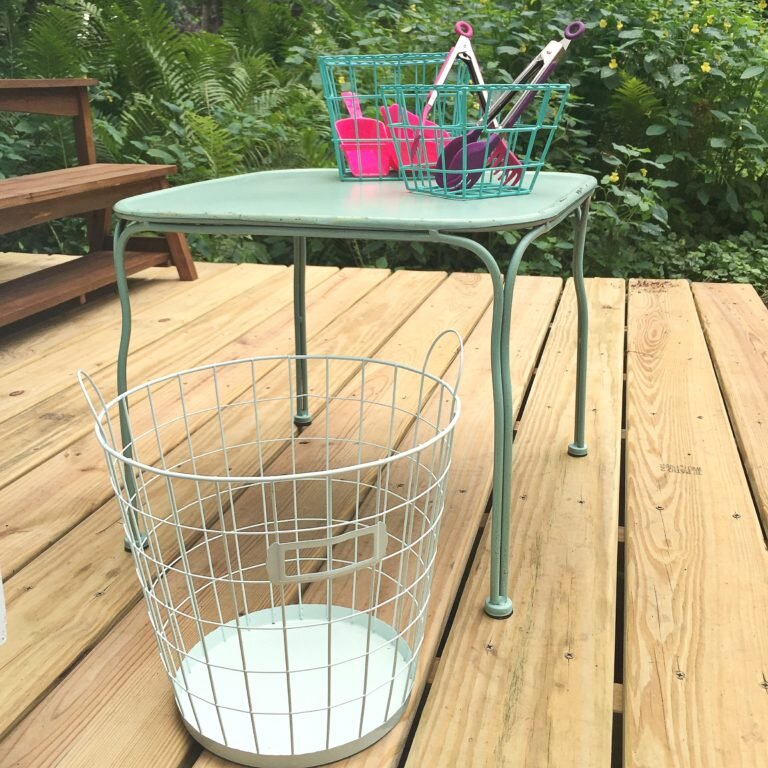
A few accessories are scattered around the space (all from Hobby Lobby or Target’s Dollar Spot). We had fun finding ‘mint’ colored items.
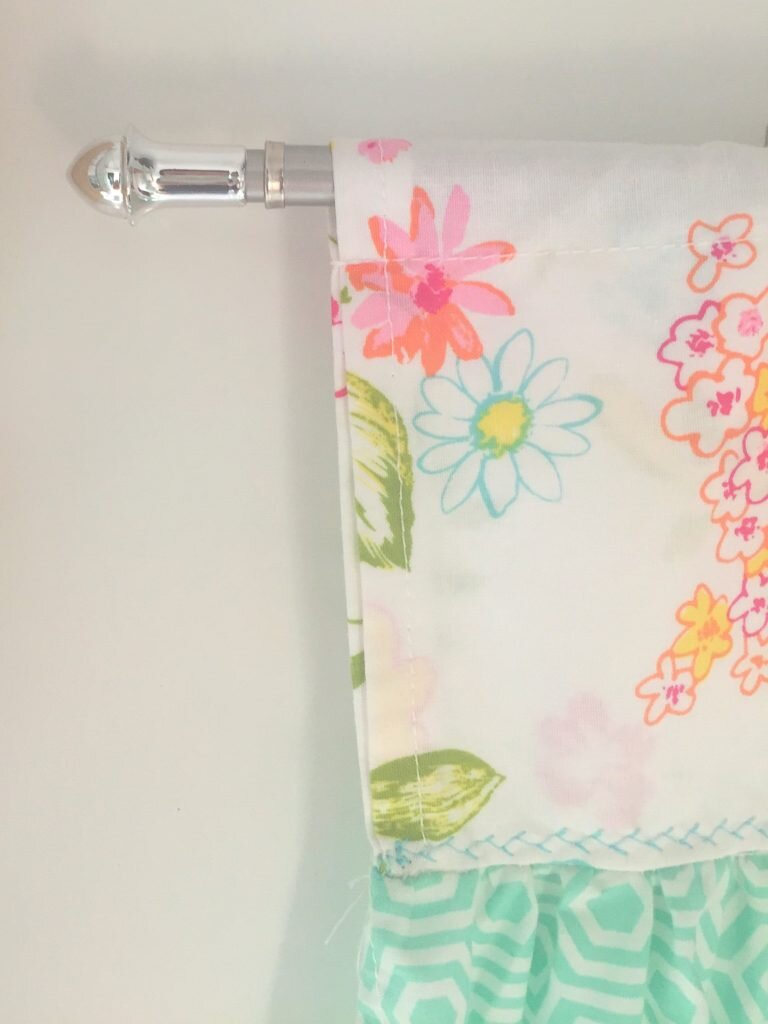
And of course: the custom curtains! The girls picked the fabrics and Grammy graciously sewed them. I hung them on simple café rods. They bring it all together and cover the less-than-perfect edges where the wall board meets the window framing.
And there you have it! A fully functional, cheerful, bright and happy space! The happiest thing of all: my heart – hearing the joy and fun as imagination games kick into high gear in this new little ‘house’.
It’s definitely home sweet home!
